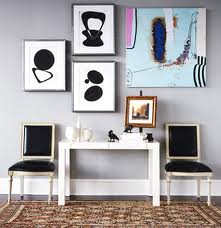
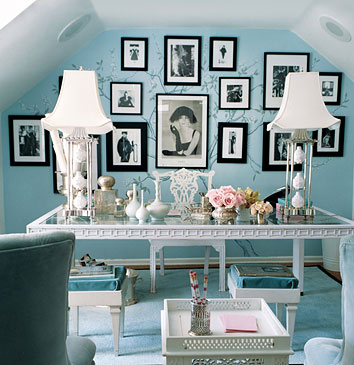
The Art of Picture Hanging
When it comes to decorating our homes, many of us would rather keep blank walls than deal with the headache of hanging art. The whole process can be a hassle as you measure, position, level and hammer, all the while knowing that you could very well be putting the nail in the wrong spot. And grouping objects? How does anyone space them correctly in regards to wall space and furniture location? It’s no wonder professional home decorators are so in-demand!
But the truth is that, with a little education and a few tips and tricks, any of us can master the art of it. It can be both easy and fun as we enjoy enhancing the beauty of our surroundings and creating a personal atmosphere of home.
The first step is, of course, to select your art. With today’s unlimited options from DIY projects to personal photos to painted masterpieces, you can choose whatever makes you happy and helps you enjoy your room. Select a piece that coordinates with the color of your wall and know that sometimes the obvious color choice isn’t the best. Try visiting an online color schemer that allows you to select your base color and then gives you an assortment of complimentary colors for your art.
Regarding art size, take a look at your wall space. If you have a huge open wall, you will want to work around your furniture using the general rule of covering 2/3 to 3/4 of that area with your artwork. If you have a small bare wall (like in a hallway or between two windows), you can keep the space a little more open.
Once you’ve selected your art, it’s time to get to work! Before you get out the hammer and nails (or complete hanging kit from the hardware store), you’ll want to position the art. Keep in mind that in most open spaces the center of your art should be approximately eye-level, except in the dining room where the art should be a little lower, still keeping the bottom edge of the frame 6-12 inches above a tabletop or chair rail.
The best way to make sure you’re going to be putting the art in the right spot is to make paper templates of each piece and start fixing them to the walls with removable adhesive, making a small mark when you have found the precise location. On your template, also mark where the hanger is located so that you can mark the spot for the nail as well. (Don’t forget to leave room for the drop in the wire if one is being used!)
Next, determine the proper hanger for the piece depending on its weight and size. You can greatly simplify the process by using the hanging hardware that comes with your picture or by, as we hinted above, looking for a picture-hanging kit at a hardware store. Check with the store’s staff to find hooks or specialized drywall hangers rated for the weight of your piece. Heavy art is most secure when mounted to wall studs, which can be located either with an electronic stud finder or by rapping your knuckles on the wall until you hear a solid sound.
After that, the rest should be a piece of cake! Use your markings to place the hanging devices and mount your picture. Then, sit back and enjoy the accomplishment!
Like we said, hanging pictures doesn’t have to be a pain. It certainly won’t be the easiest project, but it doesn’t have to be miserable, either. Simply knowing what you’re doing before you start will go a long way in easing the difficulty. And, in the end, know that the results will be well work the headache. Better to have beautiful walls than blank ones any day. Even if you have to make a few holes in the process.

